My Dr Seuss Quilt
Completed 2014
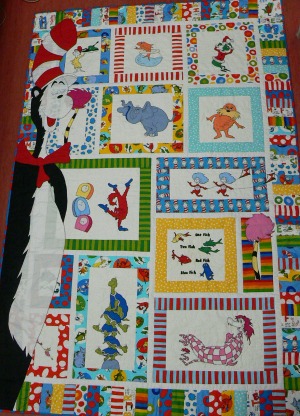
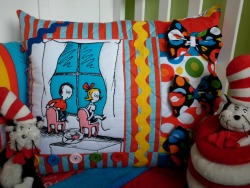
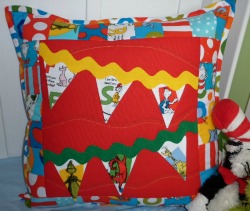
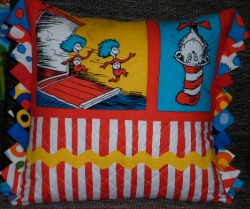
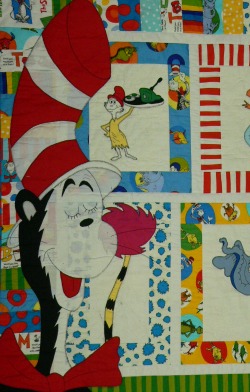
My Dr Seuss quilt was made for my wee grand daughter to match her themed bedroom. I collected the fabrics over a year from quilting shops and quilting exhibitions - in fact from anywhere I could find them. It meant that I had a few double ups by the time the quilt was begun. So like all good mums out there I made 3 very cute cushions with the left overs and had fun making up the backing fabric for the quilt! For cushion inspiration I remembered seeing some cushions at a quilting shop and I found images on Pinterest and made my own versions of them. I used iron-on pellum for the front of each cushion to give extra stability and help make the quilting stand out.
 |
 |
 |
This quilt was designed by my daughter and sewn by myself. I will not be posting our pattern online as it uses Disney characters and that could be problematic. You could do what we did though and source your images from books or google them. While making the blocks for this quilt I ran out of 'Steam-a-Seam 2' and to my horror I couldn't buy any more as the supply company were unable to make anymore. I loved Steam-a-Seam as it allowed you to place the cut applique piece on your fabric and it wouldn't move with a slight breeze due to the slightly sticky side!! So it was back to using Visoflex. For those who have
never tried this type of product I have added a quick guide describing
how to use it at the bottom of this post. |
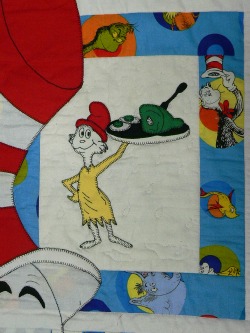
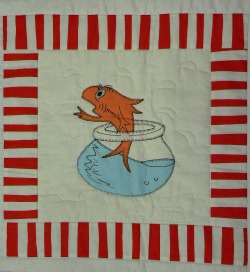
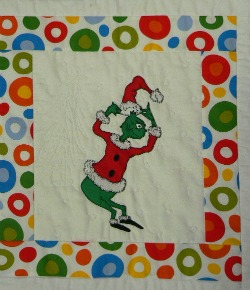
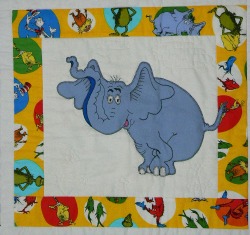
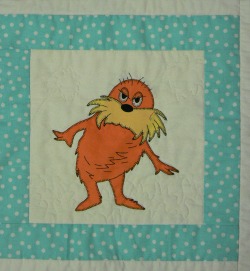
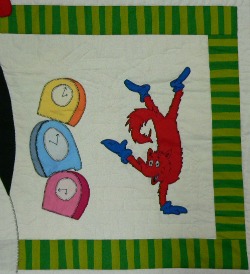
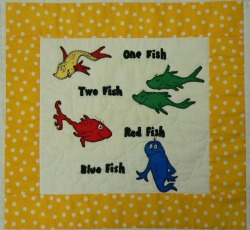
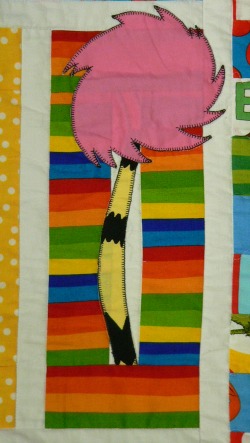
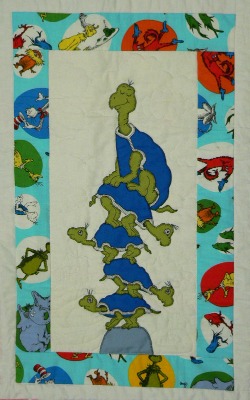
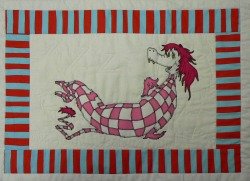
Below are individual photos of each block. I love the quilting that my friend Jeannie did - she added quilting that added to each blocks story!!
 |
 |
 |
 |
 |
 |
 |
This quilt I made doing machine applique, using a blind hem stitch. Some of the very fine details my daughter drew on the blocks! |
 |
 |
 |
 |
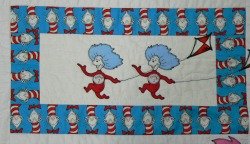
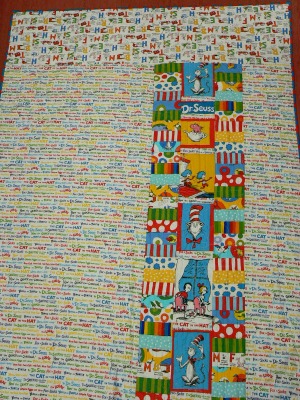
Below is a photo of the back of the quilt. The top panel of fabric was deliberately placed upside down because my daughter wanted to be able to turn the top of the quilt down when it was on the bed and this then would show up on the front of the quilt the right way up!!
Visoflex
Visoflex is a double stick fusible webbing.
The fusible webbing has paper on one side so you can trace shapes on to it.
You iron on the webbing with the paper on, cut out your shape and then peel away the layer of paper .
You then iron the piece on to the fabric following the manufacturers instructions.
Using an applique mat can also be helpful when using this product.
Sign up for my newsletter below!
Love Quilts?
Come be social with me - click here!


Sign up for my newsletter below!

How there's so much free information on this site.
Sometimes I recommend a product(s) that I have used & loved when making my quilts etc. If you buy something through one of these links, I receive a small commission which allows me to design & make more quilts! There is no extra charge to you, and it helps keep my information/patterns free of charge. To learn more please see my affiliate disclosure document.
Recent Articles
-
Perth Quilt Tour 2019
Nov 08, 18 04:17 PM
May 19 to May 28 2019 – Time for a getaway Join the fully escorted tour and take in the sights and tastes of the Margaret River Valley, visit the Perth Craft & Quilt Show and plenty of other exciting…
-
Pattern available for the Conical Felt Tree!
Oct 13, 18 11:21 PM
The Conical Felt Tree pattern is now available. This is a fabulous Christmas tree to make for young children. They will decorate this tree over and over again! Suppliers of the thick felt & Velcro fab…
-
Conical Felt Christmas Tree
Oct 11, 18 09:00 PM
Cassie is having fun decorating her Christmas tree! The pattern will be available at the end of October 2018.