Barbie Quilt
Made in 2012
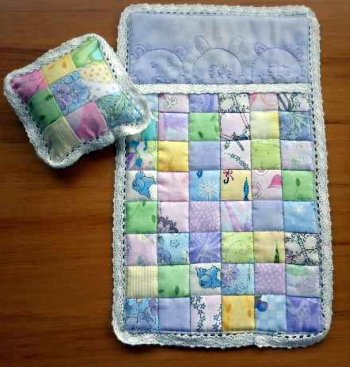
My Barbie quilt was inspired by several quilts I saw earlier this year. They were made by Amy of NanaCompany. Visit Amy at Nana Company to view her beautiful selection of wee quilts. She now offers the pattern for the adorable doll quilts in her shop.
I showed Amy's quilt to my grand daughter and her reaction was priceless - love at first sight!!! I decided to rummage through my scraps and make my own.
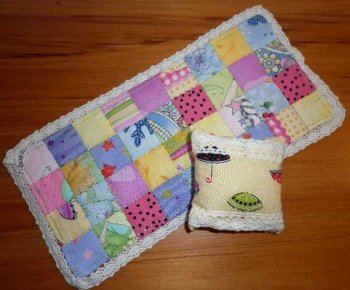
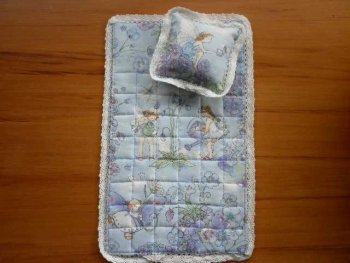
I then got slightly carried away and made a second smaller quilt for another dollhouse bed. Not being too keen on hand embroidery I ommitted this step. The quilt was too long so I turned the top down and stitched it at the corners. Again a wee pillow was made. They both look great in the dollhouse.
Following are the steps I went through to make this quilt top. If you are wanting to add the wee animal faces you will need to make your own design or buy Amy's pattern. To make a slightly smaller or larger quilt then cut your squares slightly smaller or larger.
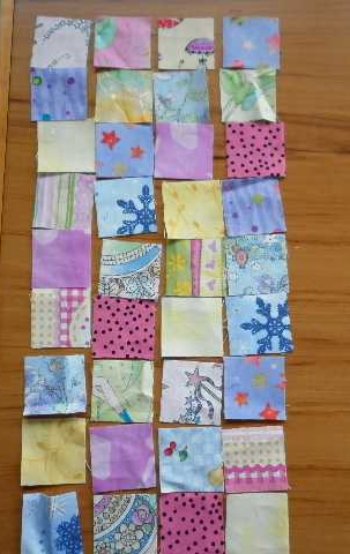
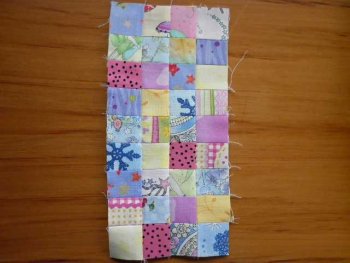
1. Cut sufficient squares 1 1/2" x 1 1/2". Lay out squares into desired format.
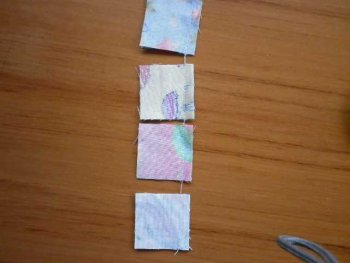
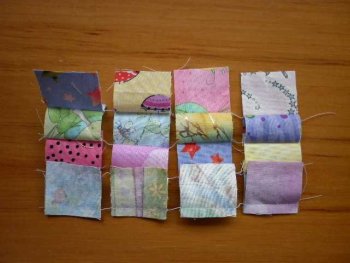
2. Sew together the 2 top squares in each row
3. Add one square at a time to each row
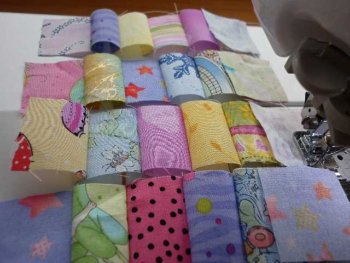
4. Sewing on the next squares
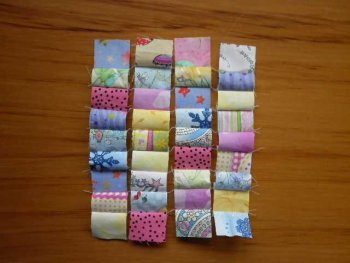
5. Squares all sewn into rows
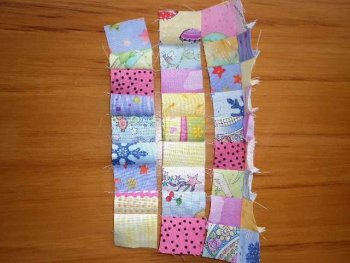
6. Sew rows together
7. All rows sewn together - front
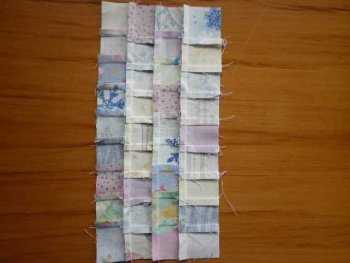
8. All rows sewn together - back
9. I used the pillowcase method to complete this quilt. I quilted it using a walking foot. Then for fun I made a wee pillow. The photo below shows the back of the first quilt I made.
When my grand daughter saw this quilt and pillow completed she was very excited. A week later I collected her from school and guess what - she had taken them to school to share for news!
My Amazon ads are my affiliate links. Thank you.
