- Home
- 52 Week Challenge
- Week 1
Joannes Designs Week1 Greensleeves
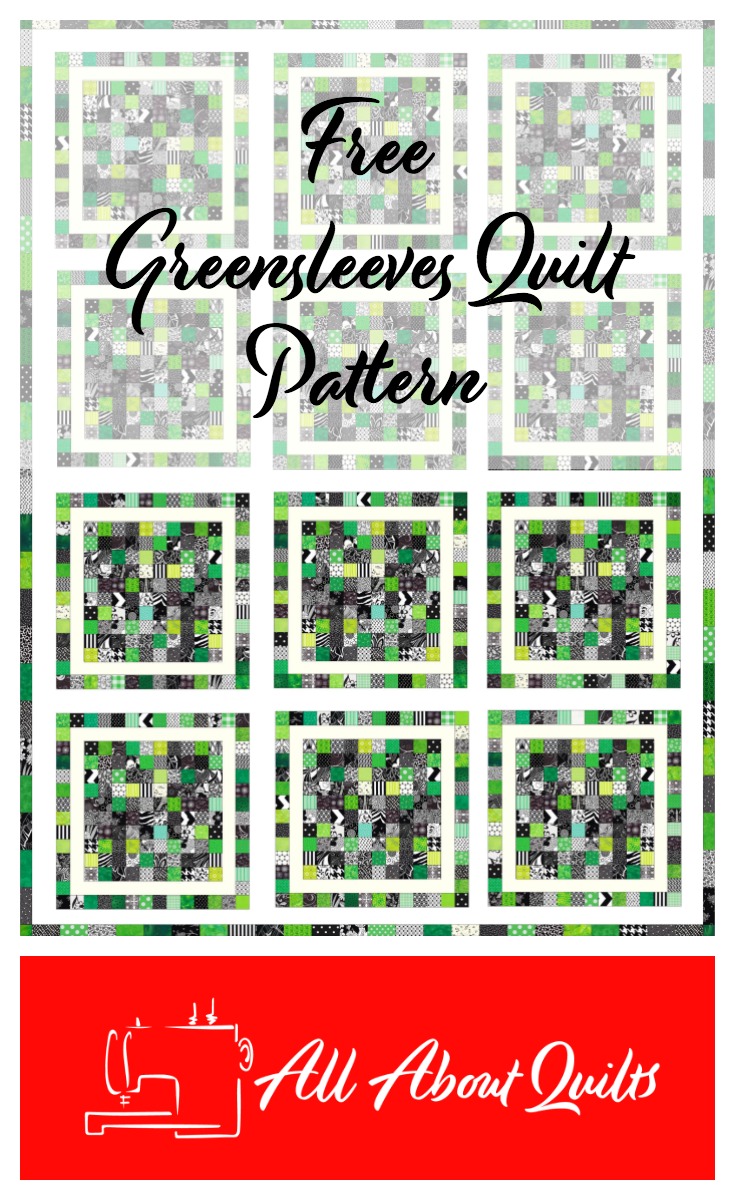
Joannes Designs Week1 Greensleeves was a quilt I made several years ago (2011) while recovering from surgery. It absorbed most of my green fabric from my stash! Before you embark on making this quilt I'd advise you to decide on the bed it was to go on or you could find you have an enormous quilt on your hands like I did. Alternatively you may choose to make an 8" x 8" block centre. When I shared the finished quilt top with my quilting group they all commented on how large it was! At the time I hadn't really considered how big it was, so take extra care when you make yours!
If you have the EQ quilting software or similar (pencils & paper would do) play with the design using different colours, as well as different types of borders on the blocks.
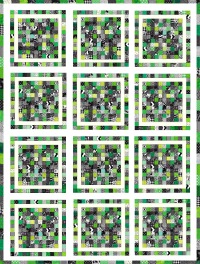
To make this
quilt you will need quite a large number of 2" x 2" squares in whatever
colour-ways you choose. The quilt is made from 12 blocks each measuring
21" x 21". To be able to add the second coloured border of 2" squares you
need to remember that the white border between needs to be constructed
also from a 2" wide strip.
For the sashing I chose to use a 3" wide white strip. This gave enough definition between the blocks.
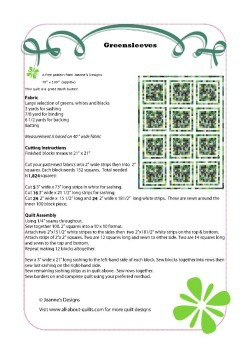
Click on the pattern Greensleeves Joannes Designs Week1 below to download a full size printable version in PDF format.
When making this quilt I found using my rotating cutting mat most helpful to square up each block without having to move the block around my table. There are some quilting supplies that though expensive pay for themselves over and over again (reducing frustration, inaccuracy & time) & this is one of those!
My advice when making this quilt:
1. Make all the central blocks containing the 100 squares first. This can be done quite quickly by chain piecing.
2. Remember to iron each rows seam allowances in opposite directions so that your seams line up well. Take care not to over stretch the rows.
3. Attach white border strips to all blocks. Then add the last border of 2" squares to all blocks.
4. Begin attaching the 3" sashing, completing one row at a time.
5. When sewing on the long sashing do a quick remeasure to confirm the correct length for them. I found this quilt quite easy to tweak/fudge when aligning the seams.
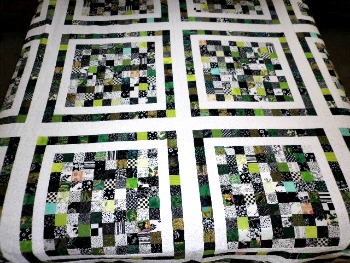
Below is a photo of my Greensleeves quilt top laying on a queen sized bed. It has yet to be made into a quilt.
I hope you enjoyed Joannes Designs Week1. Just 51 patterns to go!
My Amazon ads are my affiliate links. Thank you.
- Home
- 52 Week Challenge
- Week 1
Sign up for my newsletter below!
Like the page? Let me know! (click the button).
Love Quilts?
Come be social with me - click here!


Sign up for my newsletter below!

How there's so much free information on this site.
Sometimes I recommend a product(s) that I have used & loved when making my quilts etc. If you buy something through one of these links, I receive a small commission which allows me to design & make more quilts! There is no extra charge to you, and it helps keep my information/patterns free of charge. To learn more please see my affiliate disclosure document.
Recent Articles
-
Perth Quilt Tour 2019
Nov 08, 18 04:17 PM
May 19 to May 28 2019 – Time for a getaway Join the fully escorted tour and take in the sights and tastes of the Margaret River Valley, visit the Perth Craft & Quilt Show and plenty of other exciting…
-
Pattern available for the Conical Felt Tree!
Oct 13, 18 11:21 PM
The Conical Felt Tree pattern is now available. This is a fabulous Christmas tree to make for young children. They will decorate this tree over and over again! Suppliers of the thick felt & Velcro fab…
-
Conical Felt Christmas Tree
Oct 11, 18 09:00 PM
Cassie is having fun decorating her Christmas tree! The pattern will be available at the end of October 2018.
New! Comments
Have your say about what you just read! Leave me a comment in the box below.