Alice Quilt
Made in 2010-11

Alice In Wonderland Quilt Tutorial coming
Below you will soon find a link to the Alice quilt Tutorial that includes:
- Two options for completing the base pieced blocks
- How to make your own appliqués
- How to reverse appliqués
- Placement guides for each appliqué
- Yardage
- and more...
How to make your own Alice quilt tutorial coming
Each completed block and it's digital image
created in EQ7


How to make your own Alice quilt Tutorial coming
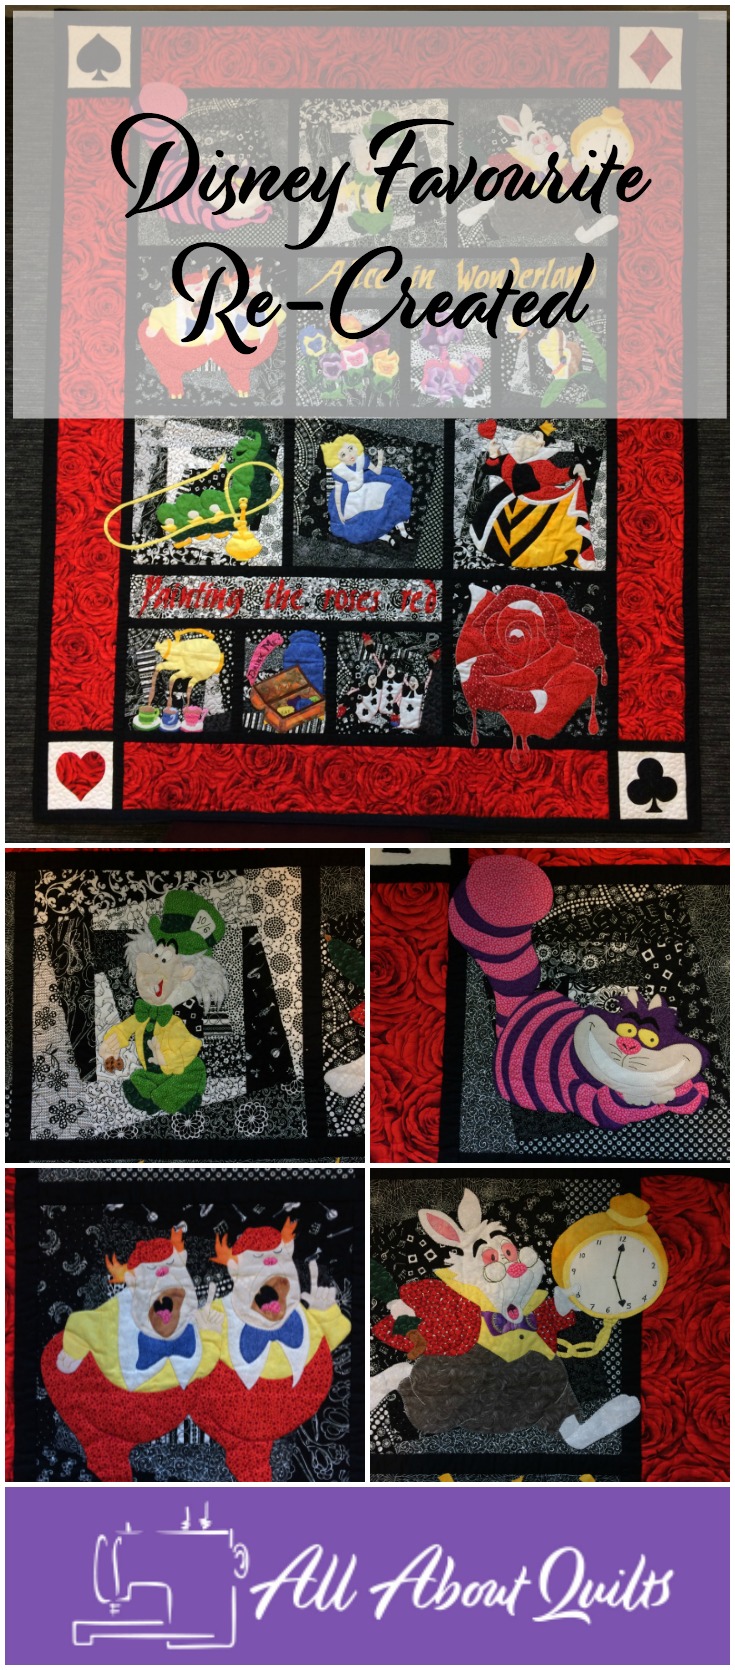
This Alice quilt was such a lot of fun to design and sew. My grand daughter loves Alice in Wonderland so it was an obvious quilt to make for her. This is the first version. I hope to complete the second version later.
I don't know about you but there are just some quilts that are too hard to part with and this was one of them. So what else is one to do but create a second one.
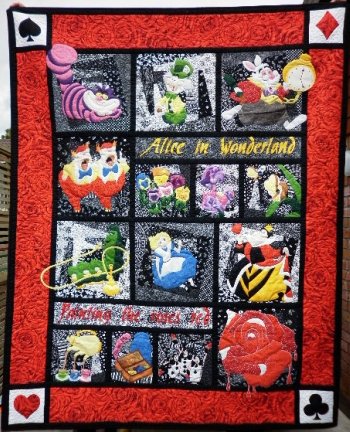
I decided to make this one out of regular quilting fabric and choose thread to match the appliqués as I sewed them on.
My second version uses batiks for the appliques and also I decided to applique using invisible thread. The other difference between the two quilts is the layout.
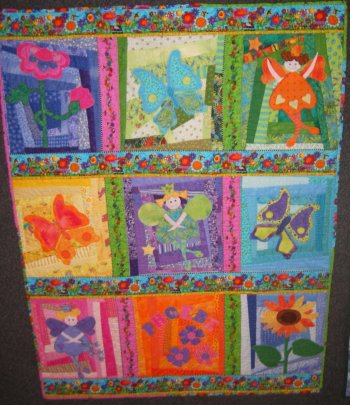
The background that each image was being placed on was done in a wonky patch design. I used white on black fabrics and also black on white fabrics. This design I had seen used by Gill in my quilting group. She had made a fairy quilt for her granddaughter - see photo below. It looks stunning! I must confess the background squares were a lot more work than I expected.
Once the backgrounds were finished then the images were sourced from a variety of sources - children's books we had, Google image searches and also the video we had. Each image was traced around by my very arty daughter and then where necessary I used the photocopier to re-size them.
Below is the Alice quilt showing the finished sizes of each block within the quilt. These sizes do not include any sashing or borders.
All the sashing is finished 1" wide or 2.5cm.
The red borders are finished 6" wide or 15cm.
The finished Alice quilt size is approximately 56½" x 71" or 144cm x 180cm.
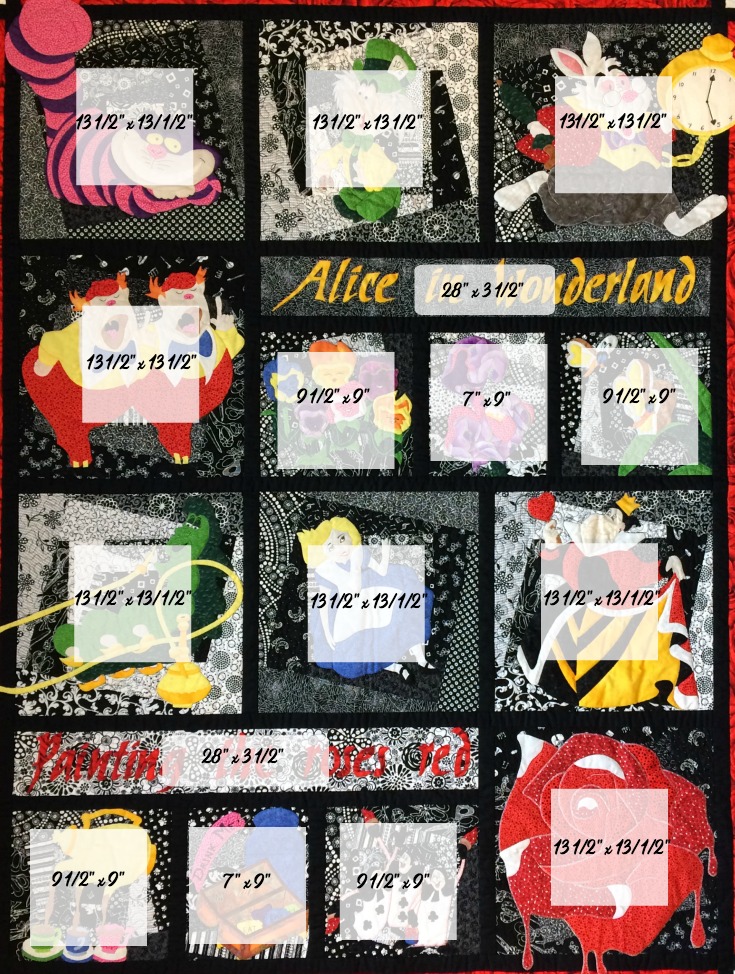
When choosing a border width I felt the Alice quilt needed a little something extra so the card symbols were added to the corners and these are 6" x 6" finished blocks. Again these came from searching the web using Google images.
Below is a graphic feast showing most blocks within the Alice quilt and their sizes trimmed (unfinished) & also after being sewn together (finished). The quilt was photographed on a windy day so there is a bit of distortion with the images - I think is suits the quilts theme very well. The two images I have not taken photos for are the words. The top one says 'ALICE IN WONDERLAND' and the other says 'PAINTING THE ROSES RED'. Enjoy!
All the following blocks are the same size.
Unfinished - 14" x 14"
Finished - 13½" x 13½"

The next 4 blocks are the same size.
Unfinished - 10" x 9½"
Finished - 9½" x 9"
The next 2 blocks are the same size.
Unfinished - 7½" x 9½"
Finished - 7" x 9"
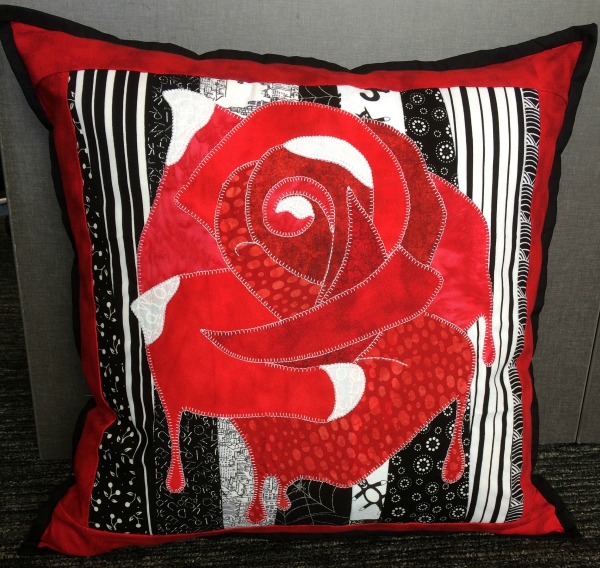
Painting the Roses Red Applique Cushion Tutorial
Recently (August 2017) my granddaughter asked if I could make her some Alice cushions for her bed to match her Alice quilt - pure delight for me! After the arrival of her wee sister she totally fell in love with her wee sister's Bat girl themed room and decided that she'd like a themed bedroom too.
As Ali is 11 years old and has done a bit of sewing with me, she was able to do all the sewing for backing of her cushion - I'm one very proud Oma!!
Below is a short video showing how we made the backing.
Here is the longer version of how Ali & I made the backing for her Alice cushion.
Applique Cushion Tutorial

You will need:
fabrics, rotary cutter, ruler & mat

Cut fabrics into strips that are wider at one end and arrange on a flat surface. There is no need to be super accurate as irregular strips like mine add to the charm of the design.

Using a neutral backing fabric eg calico, place your first strip right side up on the left hand side.

Take your 2nd fabric strip and place it right side down on top of the first strip matching the edge as shown.
Stitch in place using a 1/4" seam allowance.

Open fabric and press.

Repeat the above process adding one fabric strip at a time, remembering to press each one as you go, until finished.


Don't trim any of the edges yet as this is best done after you have added your applique.
Next we are going to prepare our applique rose and sew it onto the backing.
Below is a short video showing how to create an appliqué.
Here is the longer version of how I made the appliqué for the Alice cushion.

Create/find your pattern. I mostly use Google. Then decide where each fabric goes. You can see I have numbered mine. If you need to reverse your pattern then now is the time to do this.

Trace your pattern onto an adhesive webbing of your choice. I like to try to put all the pieces that will be using the same fabric together.

Match up pattern pieces and fabrics. Peel off backing paper and place pattern piece on the wrong side of the fabric, then iron in place. Using sharp scissors cut out each piece.

I like to do a double check here by placing each piece on the original pattern just to check that I haven’t missed any. Here you will notice that I didn’t reverse my pattern because it was not necessary for this project. If it is to yours then this is best done at the very beginning.

Now it’s time to assemble your appliqué. To do this it is best to use an appliqué pressing sheet. Place your pressing sheet on top of your pattern (if you haven’t reversed your pattern then you will need to trace the pattern on the back). I did this by holding the pattern up on a window and penciled over the pattern lines. Unfortunately that doesn’t make a very clear photo so I took my photo from the other side so you could get a better view.

Now peel off the other piece of paper on your fabric pieces and place each piece in the correct place. This takes some practice as it’s not always easy to decide which piece should be under another.

Now it’s time to layer all the remaining pieces one at a time.


When you are happy with your placement then press the design together while it is still on the pressing sheet. Magic! let it cool then carefully peel it off the pressing sheet and place it on your prepared backing fabric.
Iron in place.

I like to use a machine blanket stitch when I sew my appliqués on. Where to begin - now that’s a big question.
You stitch each piece individually. I typically start by choosing a piece that sits behind others so that when I have finished sewing the appliqué design still holds its integrity but this is not always easy to do and I don’t always get it right. This rose is not an easy one to do and as it is my third time doing it over the years I find I get carried away sewing forgetting to take a step back and check if I’m stitching it in the correct order.

Steps to transform this into a cushion:
- Trim away the excess backing fabric
- Add red border
- Cut back fabric to the same size as front - if not adding a zip
- Stitch together - wrong side to wrong side
- Bind as you would a quilt
The cushion below was made using the same method as above. These applique's were much easier to do due to each one having fewer pieces. Again I assembled each one on my appliqué pressing sheet before adding them to the cushion.
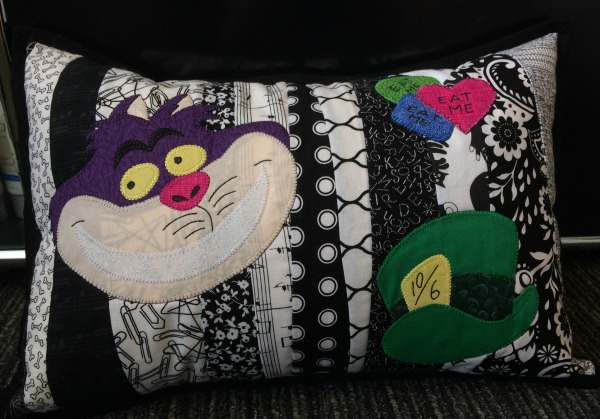
To see the method of appliqué I use visit my machine applique tutorial.
My Amazon ads are my affiliate links. Thank you.
Sign up for my newsletter below!
Like the page? Let me know! (click the button).
Love Quilts?
Come be social with me - click here!


Sign up for my newsletter below!

How there's so much free information on this site.
Sometimes I recommend a product(s) that I have used & loved when making my quilts etc. If you buy something through one of these links, I receive a small commission which allows me to design & make more quilts! There is no extra charge to you, and it helps keep my information/patterns free of charge. To learn more please see my affiliate disclosure document.
Recent Articles
-
Perth Quilt Tour 2019
Nov 08, 18 04:17 PM
May 19 to May 28 2019 – Time for a getaway Join the fully escorted tour and take in the sights and tastes of the Margaret River Valley, visit the Perth Craft & Quilt Show and plenty of other exciting…
-
Pattern available for the Conical Felt Tree!
Oct 13, 18 11:21 PM
The Conical Felt Tree pattern is now available. This is a fabulous Christmas tree to make for young children. They will decorate this tree over and over again! Suppliers of the thick felt & Velcro fab…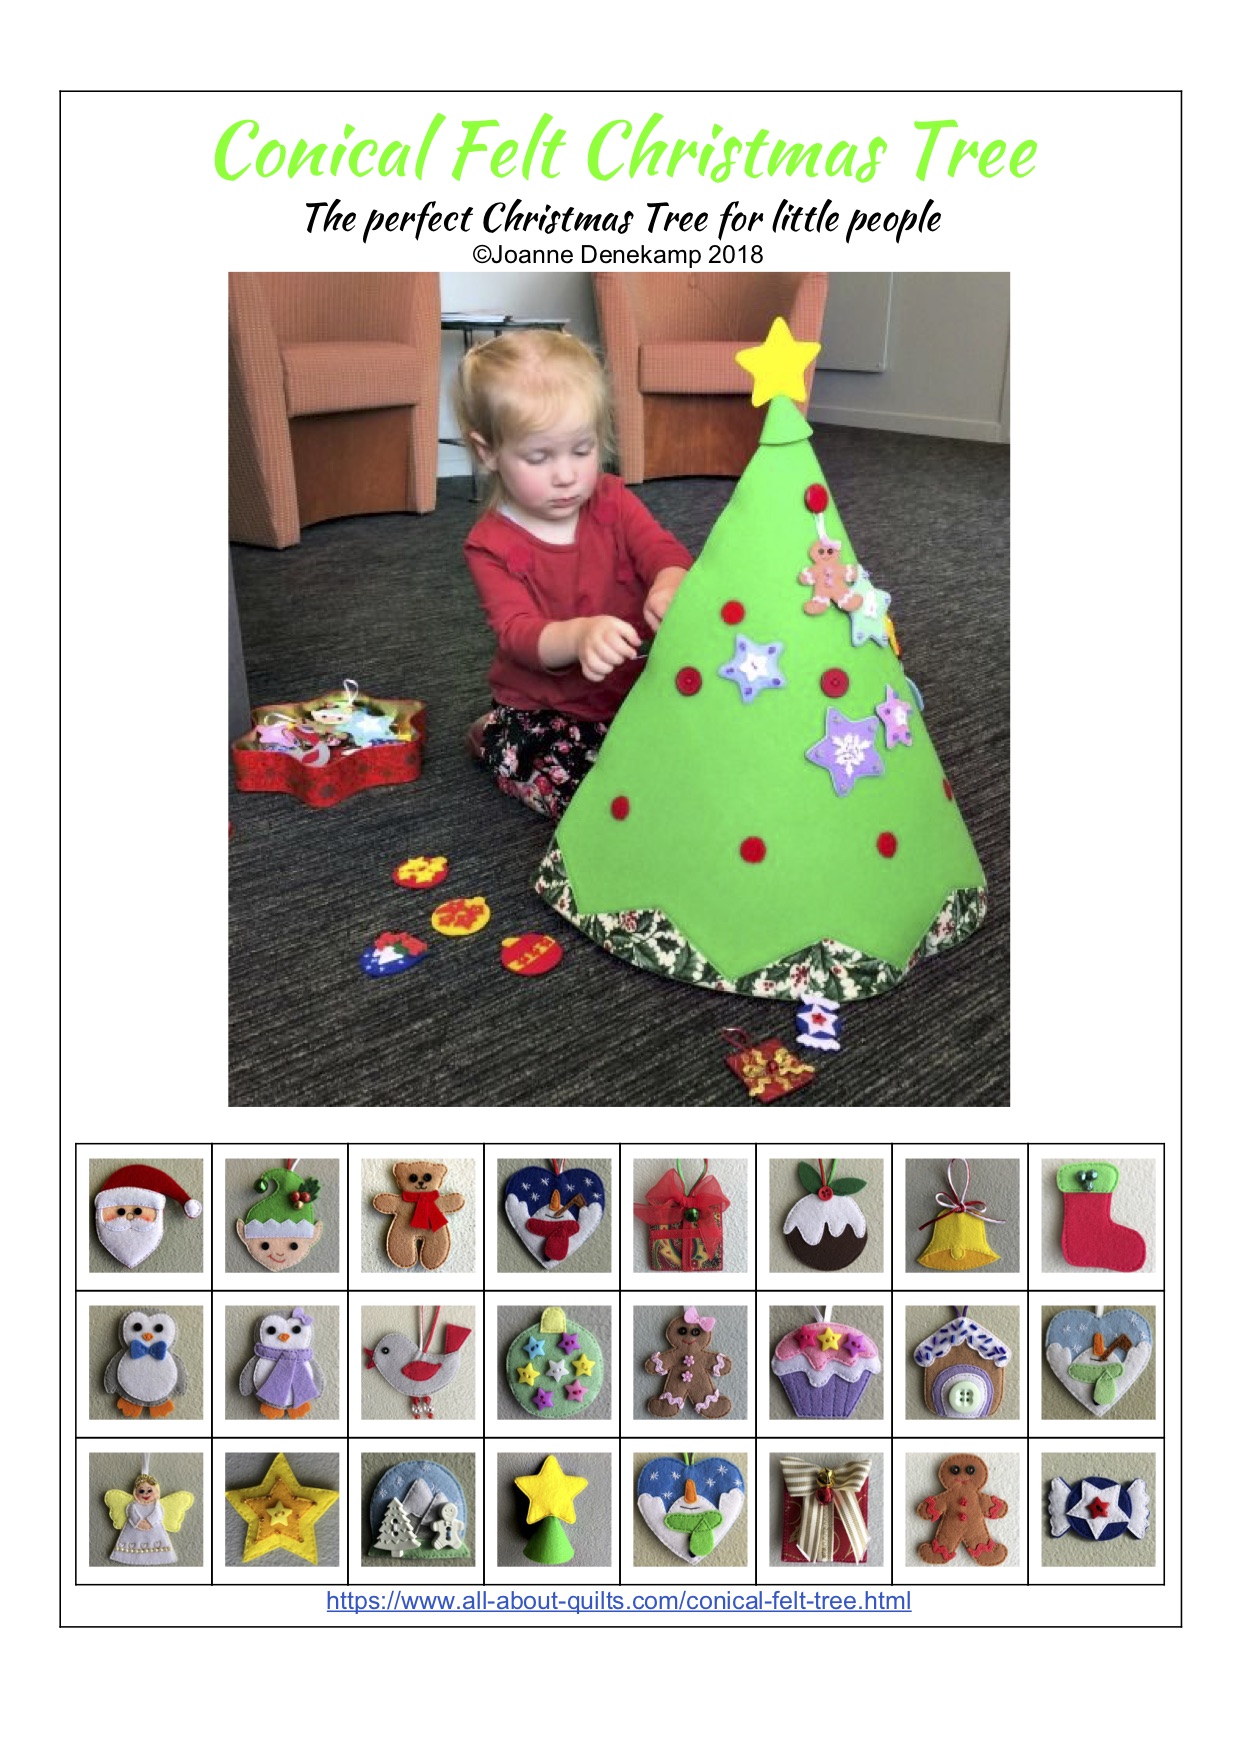
-
Conical Felt Christmas Tree
Oct 11, 18 09:00 PM
Cassie is having fun decorating her Christmas tree! The pattern will be available at the end of October 2018.
New! Comments
Have your say about what you just read! Leave me a comment in the box below.