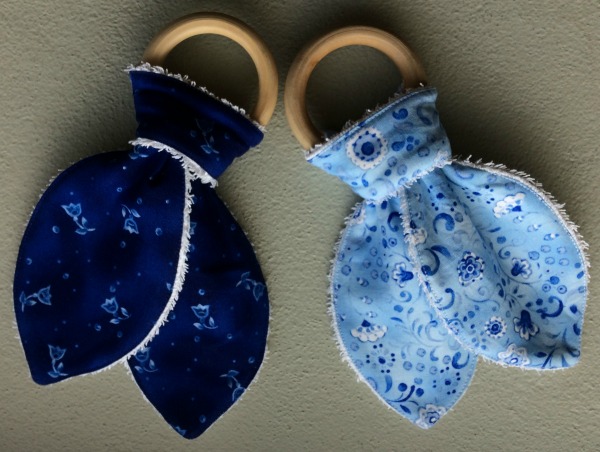
Wooden Teething Ring
Free Pattern & Tutorial


This wooden teething ring is easy to make, loved by mums and babies alike so a win-win-win for everyone!
My daughter asked me if I could make her a selection of wooden teething rings for her latest baby - how could I refuse. She even found the pattern for me to use.
After making a lot of these my daughter commented that she found them a bit too long which made them flap around too much. Together we drafted our own pattern and you can find it here for free. I use the quilting software programme EQ7 to create my patterns.
To download this pattern you will need to have the latest version of Adobe Reader on your computer. It is a free software program and can be downloaded here.

Wooden Teething Ring Tutorial
Materials Needed:
2 types of fabric
- Main fabric for front
- Towelling fabric for back
Wooden ring - these are best bought online from either Etsy or Alibaba.com
Turning tool - if you are handy or know someone who is, then you can make a great turning tool from a narrow piece of doweling or even a chopstick. See the photo in step 4 that shows one end of the tool having a diagonal cut, this helps greatly to smooth out the edges and also doesn't pop through the fabric like a knitting needle would.
Seam Allowance - 1/4"

Cut two pieces
- one from your cotton fabric
- one from your toweling fabric

With right sides facing, sew both pieces together using a 1/4" seam allowance. Leave a 3" gap for turning on one of the straight edges. Clip all curved edges and trim across both points.

Using a turning tool (knitting needle or chopstick) turn right side out. This can be a bit tight so take care.

When both ends have been turned right side out, insert turning tool to smooth out the seams from the inside. The top one above has been done.

Press using a hot steam iron.

Top-stitch using a slightly longer stitch (I use a 3) right around the edge of the teether, this will also close the turning gap.
Now the following images show how to attach the teether tie to the ring. Begin with folding the tie in half and slipping the ring on as shown below.

Next you pass the tie ends back under the wooden ring, passing them through the looped end of the fabric. Check that the fabric is sitting nice and flat, then pull tight to secure the tie on the wooden ring.
These teether's are super easy to make and only require 2 seams to be sewn. I've made a lot of these beautiful teether's and my daughter bought a pack of 3-4 wooden rings and interchanges them as needed. She loves all the different textures they include and with her wee one dribbling so much at the moment they have proved an added bonus. They are easily removed from the wooden ring to be washed.
These teether's would make a fabulous gift for any expectant mother!! You can also make these super easy bandana bibs to go with the teether.
My Amazon ads are my affiliate links. Thank you.
Sign up for my newsletter below!
Like the page? Let me know! (click the button).
Love Quilts?
Come be social with me - click here!


Sign up for my newsletter below!

How there's so much free information on this site.
Sometimes I recommend a product(s) that I have used & loved when making my quilts etc. If you buy something through one of these links, I receive a small commission which allows me to design & make more quilts! There is no extra charge to you, and it helps keep my information/patterns free of charge. To learn more please see my affiliate disclosure document.
Recent Articles
-
Perth Quilt Tour 2019
Nov 08, 18 04:17 PM
May 19 to May 28 2019 – Time for a getaway Join the fully escorted tour and take in the sights and tastes of the Margaret River Valley, visit the Perth Craft & Quilt Show and plenty of other exciting…
-
Pattern available for the Conical Felt Tree!
Oct 13, 18 11:21 PM
The Conical Felt Tree pattern is now available. This is a fabulous Christmas tree to make for young children. They will decorate this tree over and over again! Suppliers of the thick felt & Velcro fab…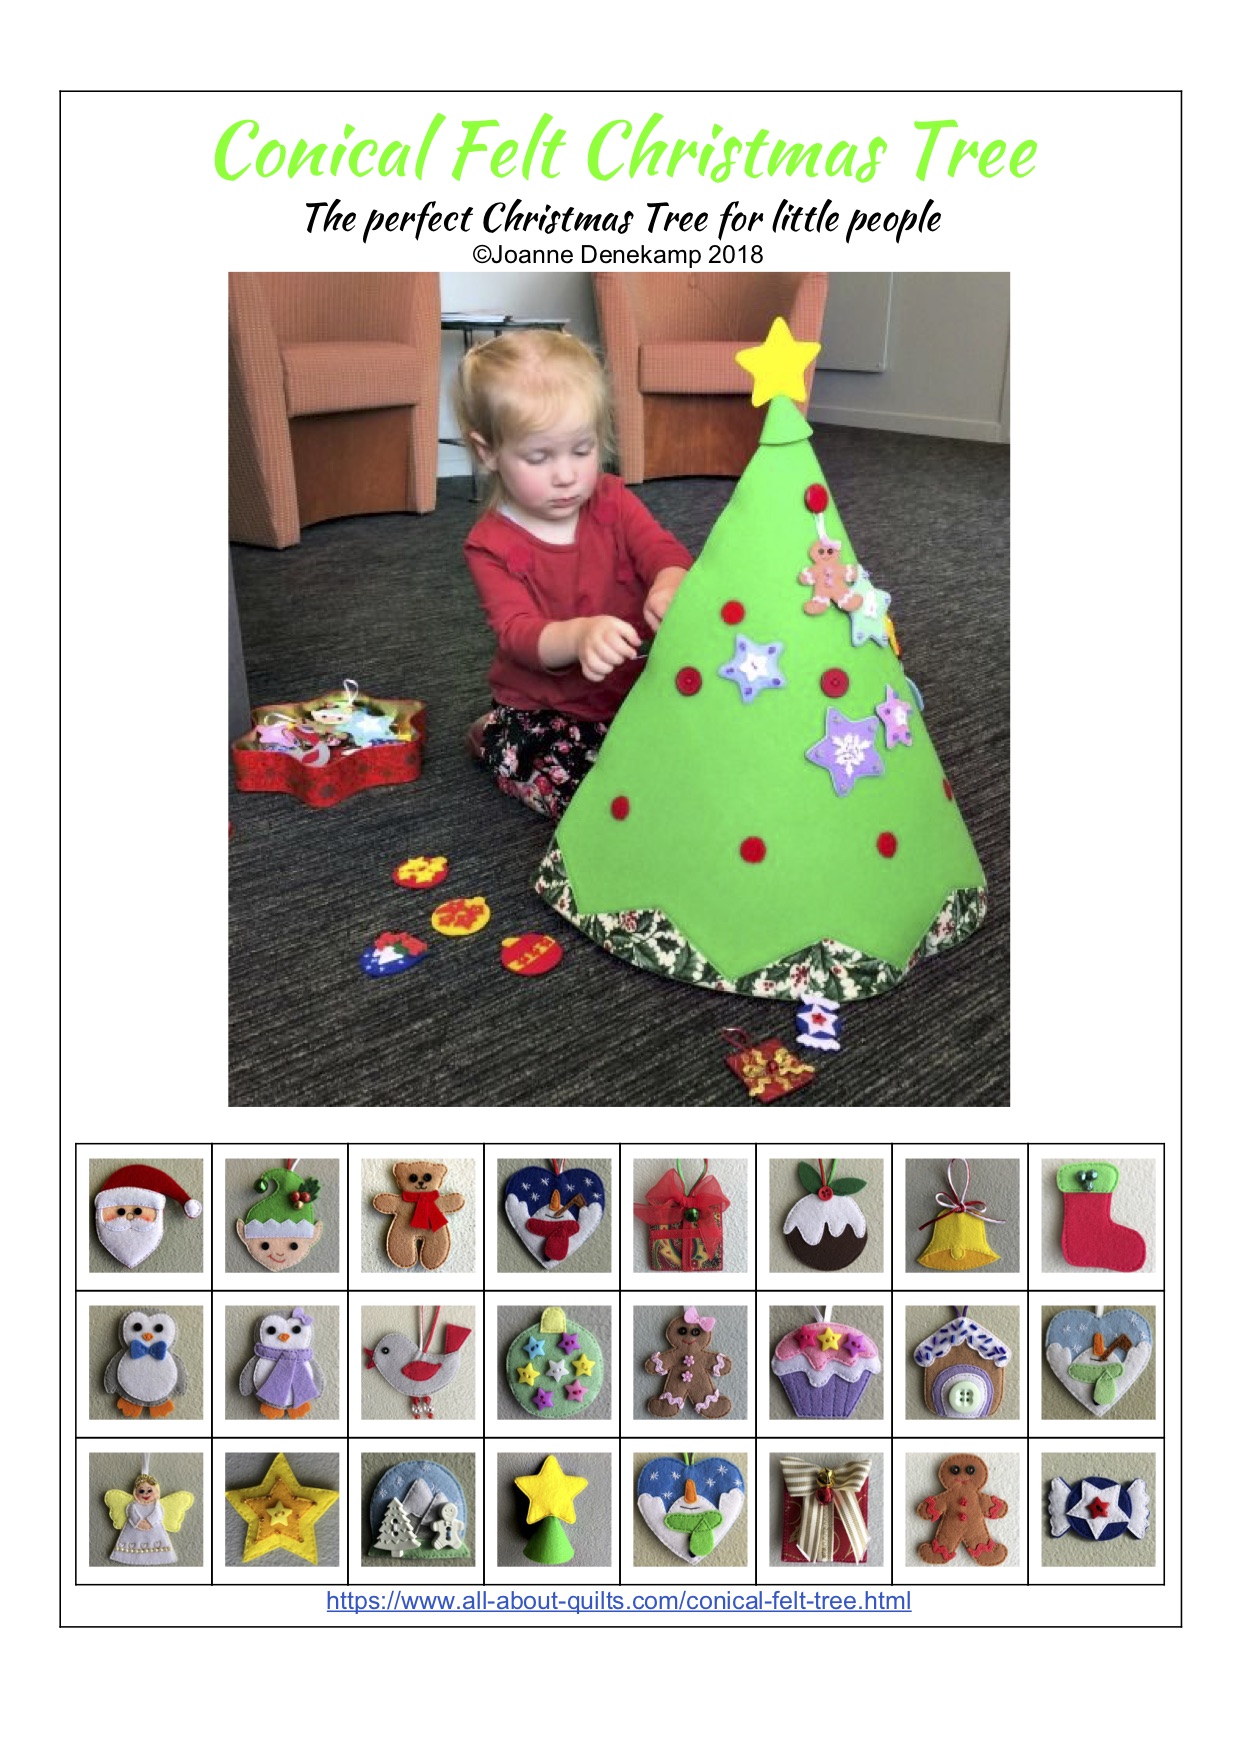
-
Conical Felt Christmas Tree
Oct 11, 18 09:00 PM
Cassie is having fun decorating her Christmas tree! The pattern will be available at the end of October 2018.
New! Comments
Have your say about what you just read! Leave me a comment in the box below.