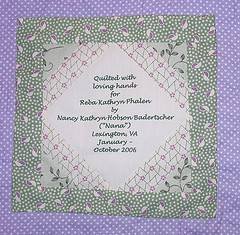
Quilt Label Instructions
Quilt label instructions are easy to follow. Labels are created to primarily display the artists signature. As with all works of art a signature is very important. The added benefit for quilters is that a quilt label can also contain extra information such as:
* Who the quilt has been made for
* How to care for the quilt
* What type of batting has been used
* Year made
Requirements
* Fabric - usually in a lighter shade so that your writing shows. If you have prewashed your quilt fabric then it is best to prewash your label fabric as well.
* Freezer paper - it should have a wax and a dull side
* Rotary Cutter, mat and ruler
* Scissors
* Fabric marking pen, usually black
Instructions
Step 1: Cut label fabric to size (4 1/2" x 5").
Step 2: Iron flat.
Step 3: Cut a piece of freezer paper 1/2" bigger on all sides than the label.
Step 4: Using a marking pen draw lines on the dull side of the freezer paper to use as a writing guide. The freezer paper also helps to stabilize the label fabric when you are writing on it.
Step 5: Turn lined freezer paper wax side up, place fabric label right side up and flip both over together. Press.
Step 6: Turn over - you should be able to see the drawn lines through the fabric.
Step 7: Using a fabric pen write on the label.
Step 8: Peel off the wax paper.
Step 9: Turn under raw edges of label and press.
Step 10: Hand stitch in place on the lower right hand corner.
Sign up for my newsletter below!
Like the page? Let me know! (click the button).
Love Quilts?
Come be social with me - click here!


Sign up for my newsletter below!

How there's so much free information on this site.
Sometimes I recommend a product(s) that I have used & loved when making my quilts etc. If you buy something through one of these links, I receive a small commission which allows me to design & make more quilts! There is no extra charge to you, and it helps keep my information/patterns free of charge. To learn more please see my affiliate disclosure document.
Recent Articles
-
Perth Quilt Tour 2019
Nov 08, 18 04:17 PM
May 19 to May 28 2019 – Time for a getaway Join the fully escorted tour and take in the sights and tastes of the Margaret River Valley, visit the Perth Craft & Quilt Show and plenty of other exciting…
-
Pattern available for the Conical Felt Tree!
Oct 13, 18 11:21 PM
The Conical Felt Tree pattern is now available. This is a fabulous Christmas tree to make for young children. They will decorate this tree over and over again! Suppliers of the thick felt & Velcro fab…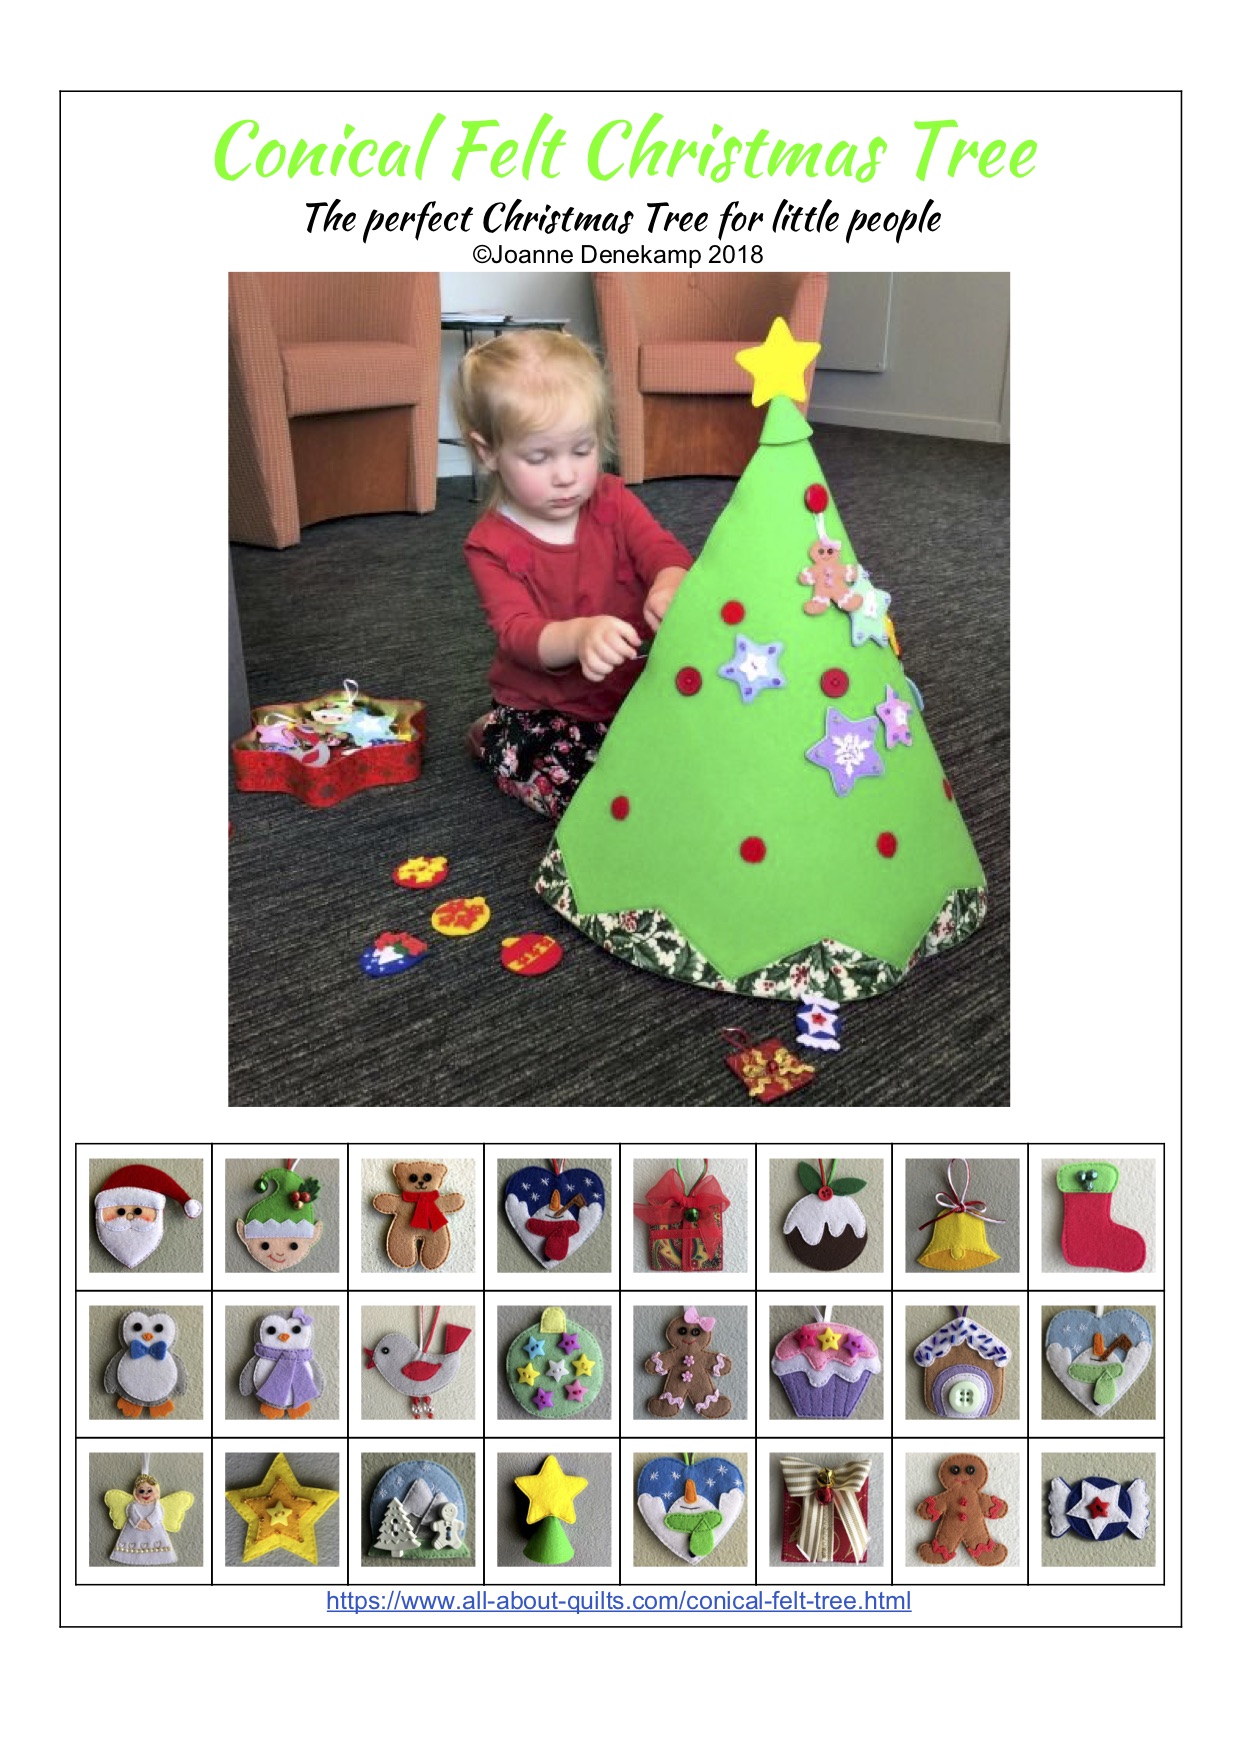
-
Conical Felt Christmas Tree
Oct 11, 18 09:00 PM
Cassie is having fun decorating her Christmas tree! The pattern will be available at the end of October 2018.
New! Comments
Have your say about what you just read! Leave me a comment in the box below.