- Home
- 52 Week Challenge
- Week 38
Joannes Designs Week38
Hugs and Kisses 66" x 80"
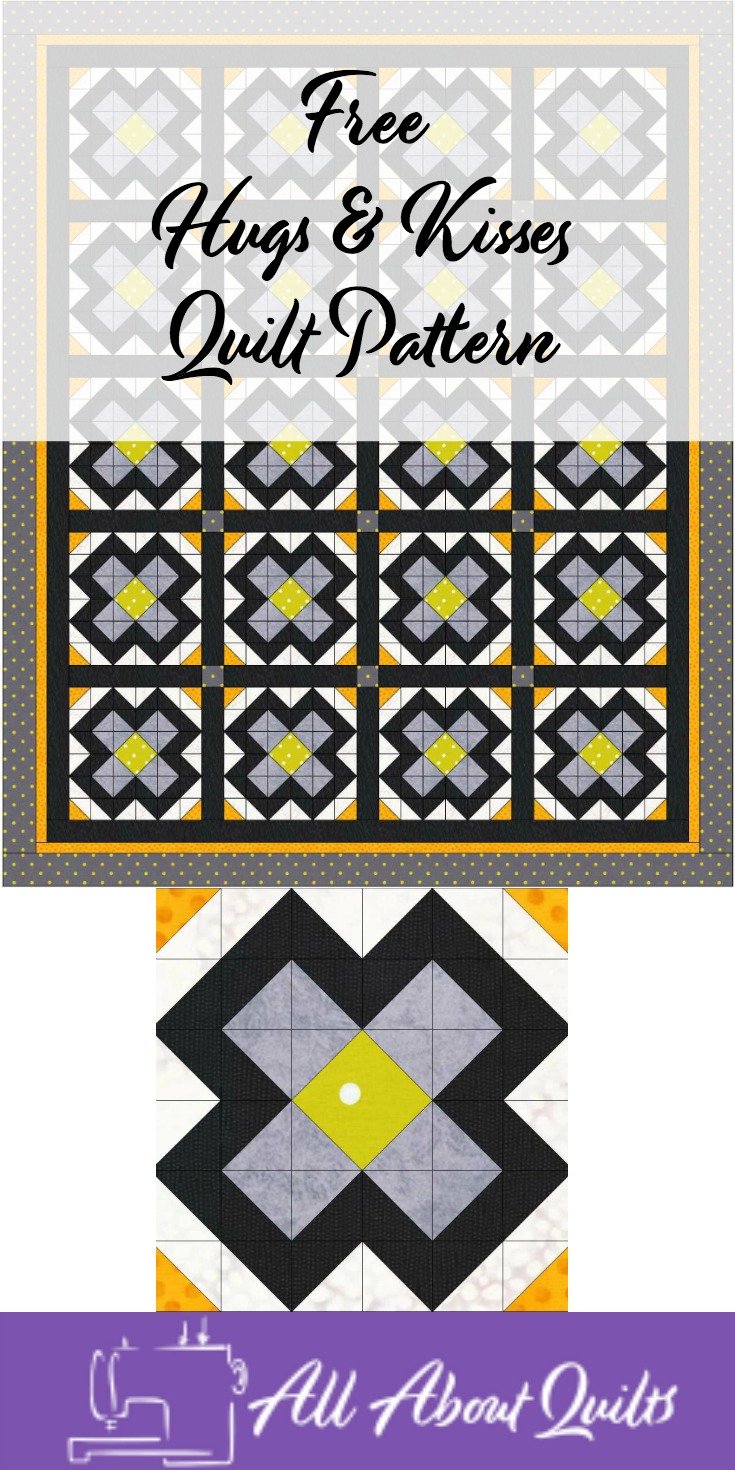
Joannes Designs Week38 'Hugs and Kisses' a sophisticated quilt design using accents of orange & green against black, white and grey fabrics. This is a very simple quilt to make and can easily be made by the beginner quilter.
Each block is made using 68 HSTs (half square triangles) and one central square on point. I am continually amazed at how versatile the HST is in quilting!
I constructed this quilt using 20 blocks each measuring 12" x 12" finished and placing 2" wide finished sashing vertically and horizontally.
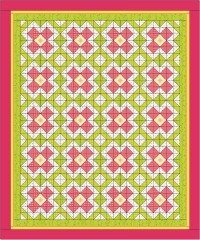
When first designing this quilt I started with a baby quilt in pinks and greens as shown below, hence the name. You will notice that there is no sashing or cornerstones in this version.
 |
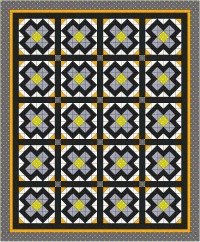
The sashing is made from 31 black strips each cut 2 1/2" x 12 1/2". Between each sashing I have placed cornerstones cut 2 1/2" x 2 1/2". |
To download the pattern, fabric yardage guide or block rotary cutting guide click on the images below.


My advice when making this quilt:
1. Make up one block initially and make any colour or placement changes at this point.
2. Cut out the central squares. This is easiest done by cutting fabric into a 3 5/16" strip and then cutting the strip into 3 5/16" squares.
3. Cut all remaining block fabrics into 2 7/8" strips (remember the black and orange fabric are also needed for the border in different widths so only cut enough fabric into strips for your blocks). With this done it is easy to cut the strips into 2 7/8" squares. Next cut each square on the diagonal once. Now have fun assembling each block!
4. If you are new to quilting then remember to layout all your completed blocks with the sashing and cornerstones in their correct place. Use a flat surface to do this. If you don't have a design wall then table top or floor is best. To sew all these elements together you begin either at the top or bottom of the quilt and work row by row. Below I have done the first 2 rows for you:
row 1: block, sashing, block, sashing, block, sashing, block
row 2: sashing, cornerstone, sashing, cornerstone, sashing, cornerstone, sashing
5. Once you have completed all 9 rows this way then lay out your rows on a flat surface. This may seem unnecessary but you will be amazed at how easy it is to join two wrong rows together! Now you can sew the rows together taking care to match up the seams.
I hope you enjoyed Joannes Designs Week38. Just 14 patterns to go!
My Amazon ads are my affiliate links. Thank you.
- Home
- 52 Week Challenge
- Week 38
Sign up for my newsletter below!
Like the page? Let me know! (click the button).
Love Quilts?
Come be social with me - click here!


Sign up for my newsletter below!

How there's so much free information on this site.
Sometimes I recommend a product(s) that I have used & loved when making my quilts etc. If you buy something through one of these links, I receive a small commission which allows me to design & make more quilts! There is no extra charge to you, and it helps keep my information/patterns free of charge. To learn more please see my affiliate disclosure document.
Recent Articles
-
Perth Quilt Tour 2019
Nov 08, 18 04:17 PM
May 19 to May 28 2019 – Time for a getaway Join the fully escorted tour and take in the sights and tastes of the Margaret River Valley, visit the Perth Craft & Quilt Show and plenty of other exciting…
-
Pattern available for the Conical Felt Tree!
Oct 13, 18 11:21 PM
The Conical Felt Tree pattern is now available. This is a fabulous Christmas tree to make for young children. They will decorate this tree over and over again! Suppliers of the thick felt & Velcro fab…
-
Conical Felt Christmas Tree
Oct 11, 18 09:00 PM
Cassie is having fun decorating her Christmas tree! The pattern will be available at the end of October 2018.
New! Comments
Have your say about what you just read! Leave me a comment in the box below.