- Home
- 52 Week Challenge
- Week 13
Joannes Designs Week13
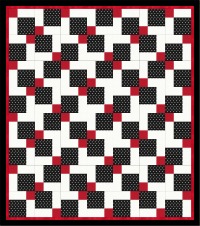
Nine Patch Variation Quilt 69" x 78"
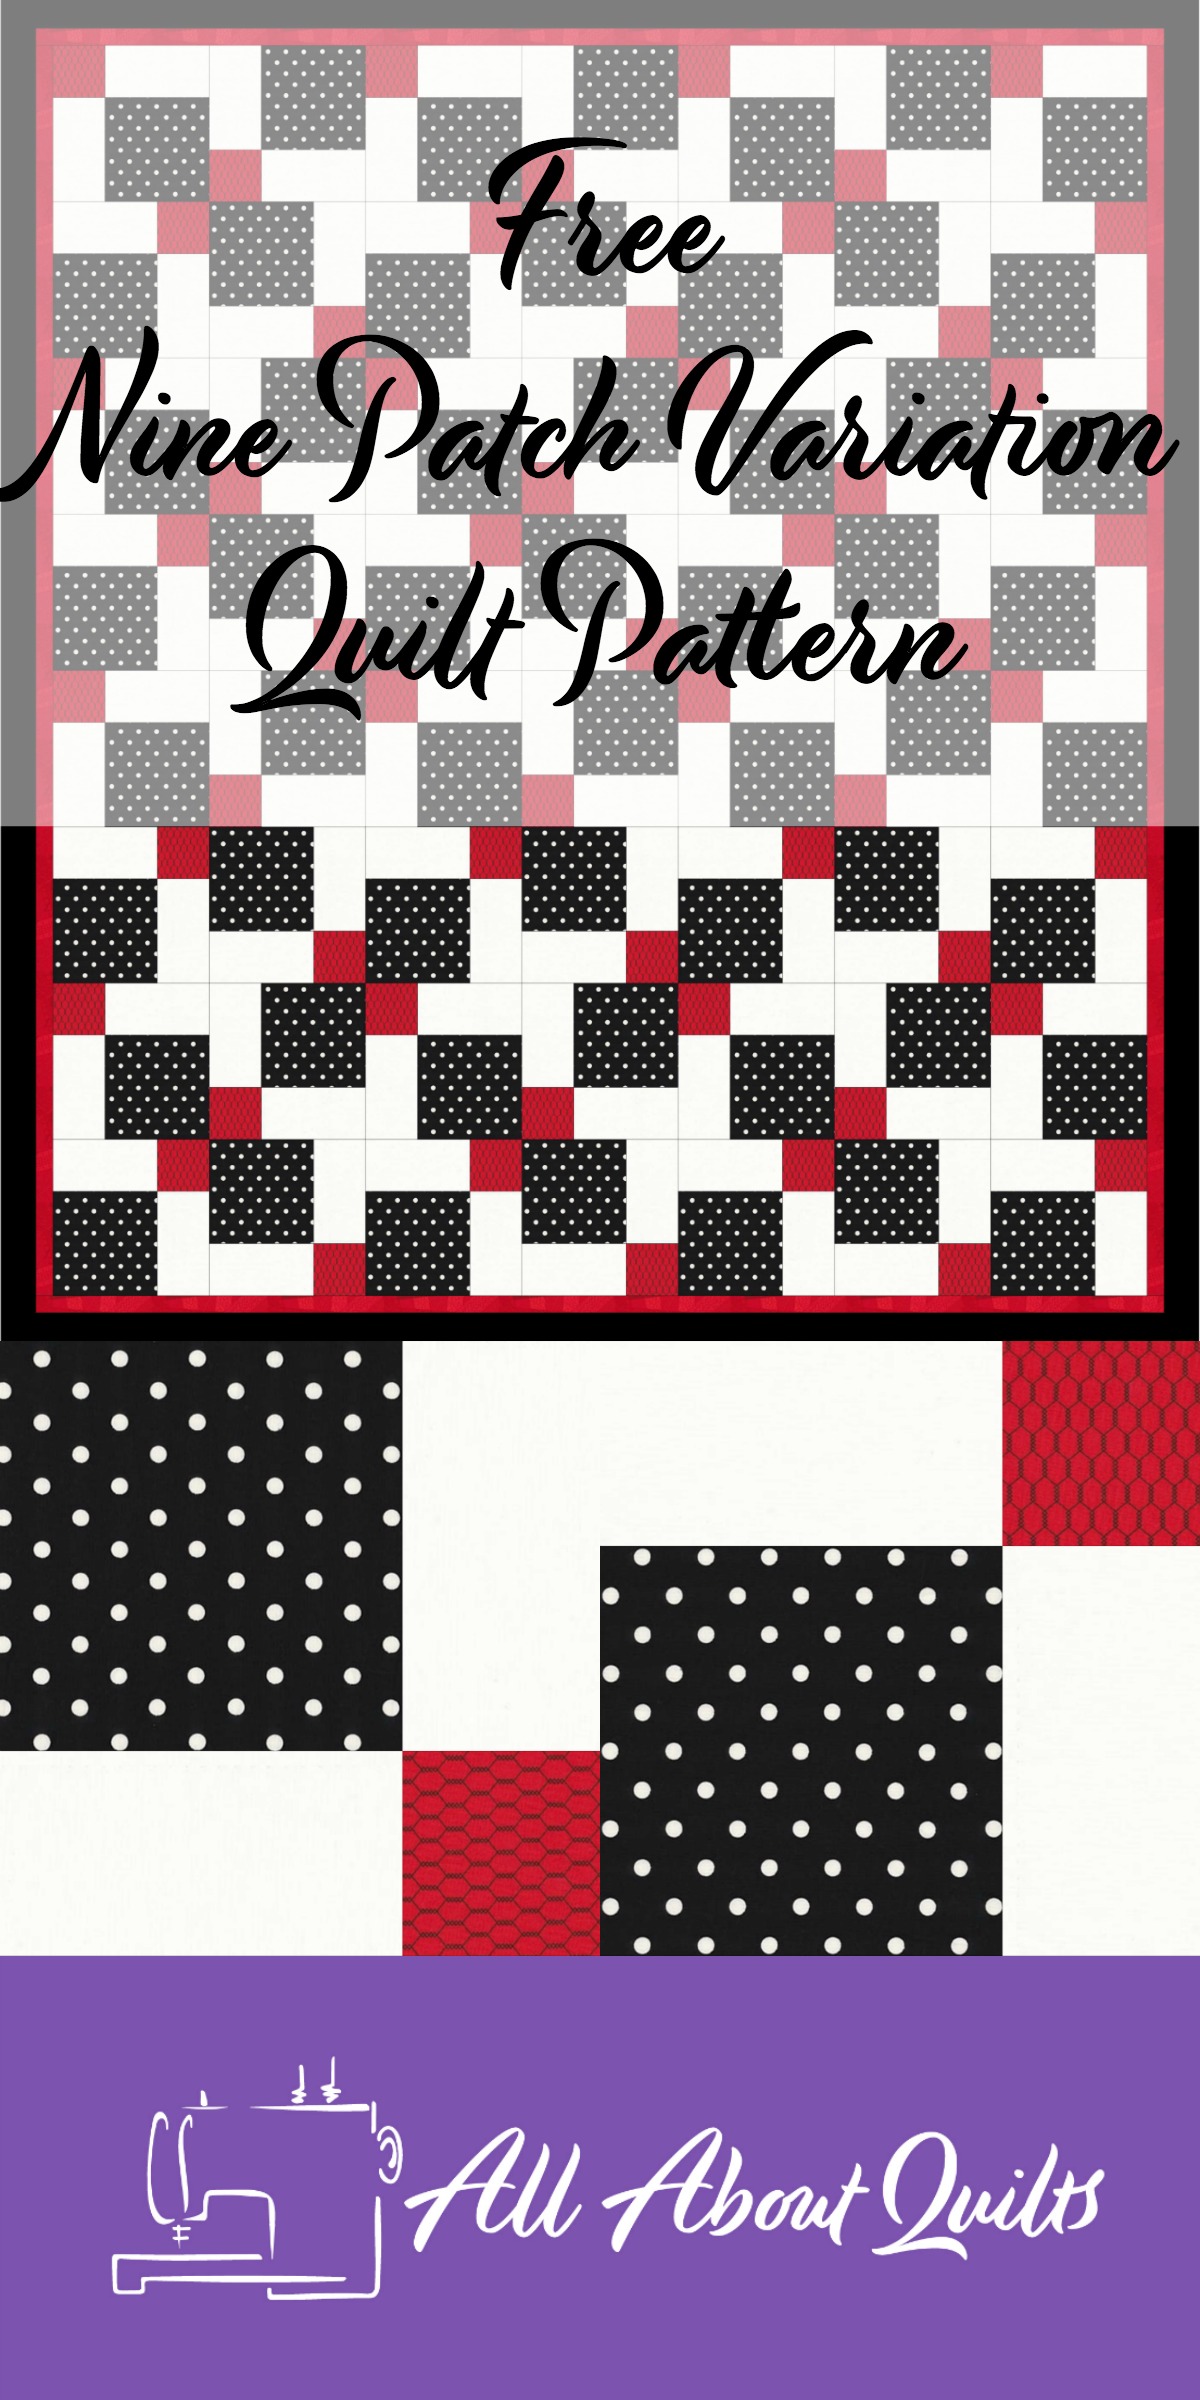
Joannes Designs Week13 'Nine Patch Variation' quilt was a design I created for a relatively new quilter to make. The nine patch block is so versatile and quick to make. It can be dressed up or accented as in this case to create a stunning quilt.
I have chosen bright red as my accent colour but an accent in any colour will work well. Also if black and white are not your thing then remember that this quilt would look great in any number of contrasting colour combinations.

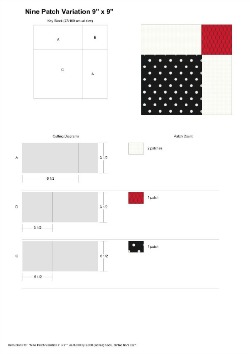
There is only one block used to make this quilt and the block is very simple to make being comprised of two squares and 2 rectangles.
What adds interest to this quilt is the positioning of the blocks. Each alternate row is the same with the red square either at the top or bottom position. The 1st, 3rd 5th etc rows the red square is on the left side and on the 2nd, 4th, 6th etc rows the red square is positioned on the right side. You'll need to take care when laying out the blocks as it is very easy to make a mistake.
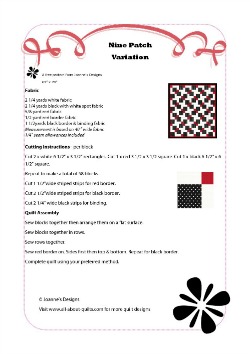
To download the pattern or rotary cutting guide click on the relevant image below.
My advice when making this quilt:
1. Sew one block together first. Check that you like your colours.
2. Sew together all of the 56 blocks to form 9 1/2" x 9 1/2" square blocks. Measure & trim each block so they are all exactly the same size. This is essential in ensuring that the joins between blocks match up beautifully.
3. Lay your blocks out on a flat surface or on your design wall following the quilt design. It is best to stand back to see if any of the blocks have been placed incorrectly.
4. Sew your blocks together into rows. Press alternate rows seams all in the same direction. For example rows 1, 3, 5 etc press their seams to the right. Then rows 2, 4, 6 etc press their seams to the left. This will help the quilt top to sit flat once finished.
5. Measure your quilt top in 3 places vertically to get the average length to cut your first two side borders. Cut two red borders this length. Sew in place.
6. Remeasure your quilt top in 3 places horizontally to get the average width to cut your next two borders. Cut two red borders this length. Sew in place.
7. Repeat for the black border.
I hope you enjoyed Joannes Designs Week13. Just 39 patterns to go!
My Amazon ads are my affiliate links. Thank you.
- Home
- 52 Week Challenge
- Week 13
Sign up for my newsletter below!
Like the page? Let me know! (click the button).
Love Quilts?
Come be social with me - click here!


Sign up for my newsletter below!

How there's so much free information on this site.
Sometimes I recommend a product(s) that I have used & loved when making my quilts etc. If you buy something through one of these links, I receive a small commission which allows me to design & make more quilts! There is no extra charge to you, and it helps keep my information/patterns free of charge. To learn more please see my affiliate disclosure document.
Recent Articles
-
Perth Quilt Tour 2019
Nov 08, 18 04:17 PM
May 19 to May 28 2019 – Time for a getaway Join the fully escorted tour and take in the sights and tastes of the Margaret River Valley, visit the Perth Craft & Quilt Show and plenty of other exciting…
-
Pattern available for the Conical Felt Tree!
Oct 13, 18 11:21 PM
The Conical Felt Tree pattern is now available. This is a fabulous Christmas tree to make for young children. They will decorate this tree over and over again! Suppliers of the thick felt & Velcro fab…
-
Conical Felt Christmas Tree
Oct 11, 18 09:00 PM
Cassie is having fun decorating her Christmas tree! The pattern will be available at the end of October 2018.
New! Comments
Have your say about what you just read! Leave me a comment in the box below.